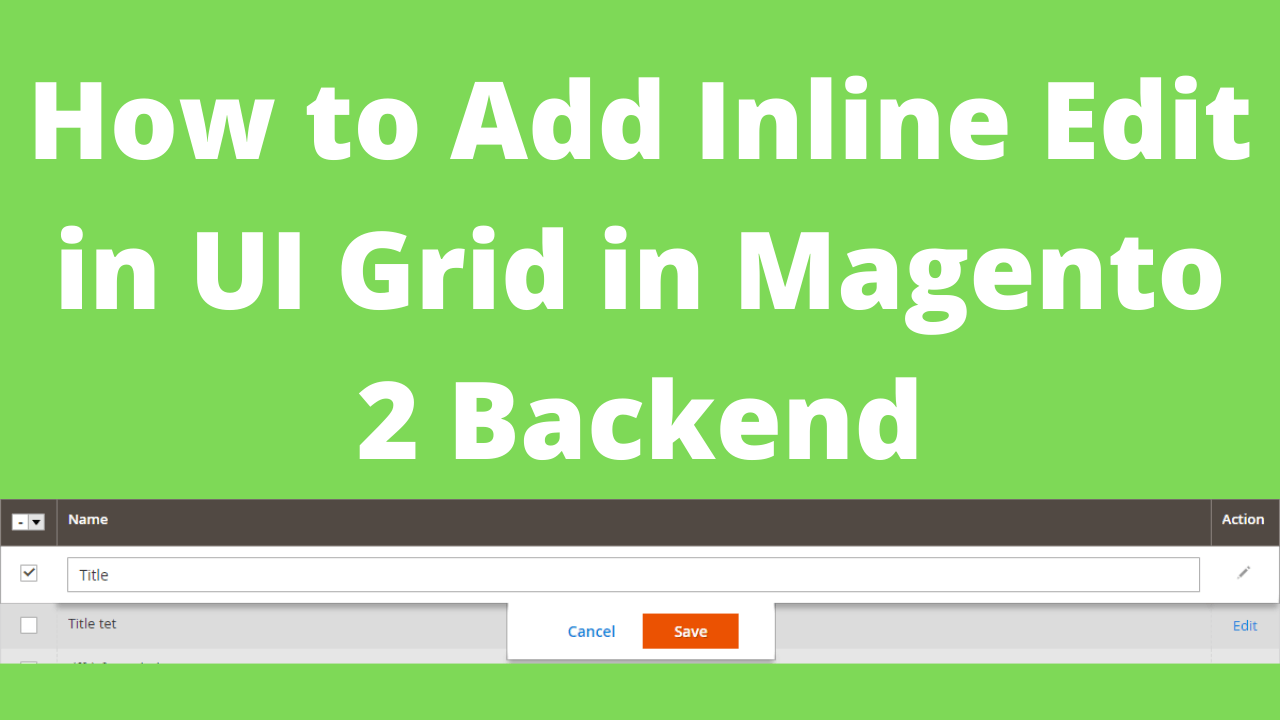
How to Add Inline Edit in UI Grid in Magento 2 Backend
Hope all are well and good. Today I am here with the most useful topic for all the Magento store owners, How to Add Inline Edit Functionality in Magento 2 Backend Grid.
As we all know Magento 2 provides the functionality to show no. of rows for a particular table in a grid format or you can say that tabular format in the backend of the store. The admin can also perform different actions like add a new row, delete, or update.
But if we want to update any row then we need to select edit action for that particular row and this will redirect us to a new page. Magento 2 also provide inline edit functionality and with the help of that, the admin need not open each entry in the edit mode but simply make the necessary changes using the inline edit. This makes the admin work quick and easy.
If you want to add inline edit feature in your custom module, here are a few steps:
Steps to Add Inline Edit Functionality in Magento 2 Backend Grid:
- Use the below code in your xml file of ui_component or in the grid where you want to add inline edit.
This file will be located under Vendor/Module/view/adminhtml/ui_component/ .
Firstly, you can check how to create the admin grid using UI component from the wonderful blog UI Component Grid. In the element Columns, I will register the inline editing.
In my case, it is located in app\code\Thecoachsmb\Grid\view\adminhtml\ui_component\thecoachsmb_grid_listing.xml folder
You can add or update the code in this file.
<columns name="thecoachsmb_records_columns">
    <settings>
        <editorConfig>
            <param name="selectProvider" xsi:type="string">thecoachsmb_grid_listing.thecoachsmb_grid_listing.thecoachsmb_records_columns.ids</param>
            <param name="enabled" xsi:type="boolean">true</param>
            <param name="indexField" xsi:type="string">primary_id</param>
            <param name="clientConfig" xsi:type="array">
                <item name="saveUrl" path="thecoachsmb/grid/inlineEdit" xsi:type="url"/>
                <item name="validateBeforeSave" xsi:type="boolean">false</item>
            </param>
        </editorConfig>
        <childDefaults>
            <param name="fieldAction" xsi:type="array">
            <item name="provider" xsi:type="string">thecoachsmb_grid_listing.thecoachsmb_grid_listing.thecoachsmb_records_columns_editor</item>
            <item name="target" xsi:type="string">startEdit</item>
            <item name="params" xsi:type="array">
            <item name="0" xsi:type="string">${ $.$data.rowIndex }</item>
            <item name="1" xsi:type="boolean">true</item>
            </item>
            </param>
       </childDefaults>
</settings>
<selectionsColumn name="ids">
................................
</selectionsColumn>
<column name="primary_id">
............
</column>
<column name="title">
..........
</column>
.......
</columns>
editorConfig: The action inlineEdit will save the data into the database. In above code, you need to set action URL in path attribute. I added routerid/controllername/inlineEdit as my action URL. In my case it is thecoachsmb/grid/inlineEdit.
childDefaults: We made the grid clickable by the element fieldAction.
- Then, to make a column editable using the element editor in your UI Grid, update this code in the column you want to edit. I have selected title to edit inline.
<column name="title">
  <argument name="data" xsi:type="array">
    <item name="config" xsi:type="array">
       <item name="editor" xsi:type="array">
          <item name="editorType" xsi:type="string">text</item>
          <item name="validation" xsi:type="array">
             <item name="required-entry" xsi:type="boolean">true</item>
          </item>
       </item>
       <item name="filter" xsi:type="string">text</item>
       <item name="label" xsi:type="string" translate="true">Title</item>
       <item name="sortOrder" xsi:type="number">4</item>
    </item>
  </argument>
</column>
editorType: In above code, editorType is used to add type of input editor such as text, date, etc.
validation: Validation rules which you want to apply before the save.
Now, Create the controller for saving edited data:
- Create the InlineEdit.php file to get data and save it in the database at app/code/Thecoachsmb/Grid/Controller/Adminhtml/Grid/.
<?php
namespace Thecoachsmb\Grid\Controller\Adminhtml\Grid;

use Magento\Backend\App\Action\Context;
use Magento\Framework\Controller\Result\JsonFactory;
use Thecoachsmb\Grid\Model\GridFactory;

class InlineEdit extends \Magento\Backend\App\Action
{
    protected $jsonFactory;
    private $dataFactory;

    public function __construct(
        Context $context,
        JsonFactory $jsonFactory,
        GridFactory $dataFactory)
    {
       parent::__construct($context);
       $this->jsonFactory = $jsonFactory;
       $this->dataFactory = $dataFactory;
    }

    public function execute()
    {
        $resultJson = $this->jsonFactory->create();
        $error = false;
        $messages = [];

       if ($this->getRequest()->getParam('isAjax')) {
            $postItems = $this->getRequest()->getParam('items', []);
            if (!count($postItems)) {
               $messages[] = __('Please correct the data sent.');
               $error = true;
           } else {
              foreach (array_keys($postItems) as $modelid) {
                $model = $this->dataFactory->create()->load($modelid);
                  try {
                    $model->setData(array_merge($model->getData(), $postItems[$modelid]));
                     $model->save();
                } catch (\Exception $e) {
                   $messages[] = "[Customform ID: {$modelid}] {$e->getMessage()}";
                   $error = true;
                 }
             }
         }
     }


return $resultJson->setData([
'messages' => $messages,
'error' => $error]);
}
}
Now, Just clean the cache and check it.
This is how we can save the data. This example for the single column, you can implement it in several columns as you required.
That’s it !!!
Conclusion:
In this way, you can successfully added Inline Edit Functionality in Magento 2 Backend Grid. In case of any difficulty, mention it in the comment below. Do share the article within your Magento friends group. Stay updated for more Magento tutorials.
Hope it will help you. Thank you.


What is:
thecoachsmb_grid_listing.thecoachsmb_grid_listing.thecoachsmb_records_columns_editor ?
Do I need mass edit action to implement that?
How to add this to product grid?
Please follow this article:-
https://www.thecoachsmb.com/create-grid-add-button-edit-delete-actions-in-magento2/